Emulating the MOS 6502 Microprocessor with C++
This sprung up as I was working on ARX6502, my single board computer project. I wanted an easier way to test the software I was writing than having to remove and flash the EEPROM every time I wanted to update the code.
Requirements
I needed an emulator that was much more modular than anything I found online. Most emulators target specific system but because I was building my own from the ground up, I needed something that could better tailor to that. Thus, I needed to abstract away the peripherals from the CPU. This would create a decrease in speed as the emulated CPU can’t take shortcuts when doing things like writing or reading from memory, but that’s alright because this emulator is focused on accuracy rather than speed.
On that note, my other goal was to make the emulator as accurate as possible to the real CPU. Again, my goal wasn’t to play NES games or anything that required speed, but rather to have an emulation of whatever physical system I was building. Thus, I needed to pay special attention to the CPU’s behavior and timing states.
On the bright side, because I’m not creating a system to support existing code but rather plan to write my own code, I don’t have to implement any of the several undocumented opcodes that get used from time to time in other software.
Implementation
As mentioned, I needed a modular system. Thus, the backbone of the system is the databus class. The databus also virtually encapsulates the idea of an address decoder, as modules are given an address range when they are attached and the databus will trigger a write/read to a module only if its within its address range (the equivalent of an “enable” pin). Currently, only the CPU may perform the read or write operations.
The CPU itself is initialized to what a real 6502 would be after reset. It then reads the instruction start address from 0xFFFC and 0xFFFD and into the program counter and begins fetching bytes from the databus to read and process. I won’t go into detail here, but all of the standard opcodes are fully implemented to the best of my knowledge. This includes all mathematical, branching, and other instructions. All flag registers are also set, and special details like how branching instructions may take an extra clock cycle in some situations are also factored for. However, the real difficulty now is that I actually need to test and verify everything actually works.
The problem with this is that I can’t just write a program that “prints” to an output, as there’s no such thing as an output without more hardware. So, I decided to implemented another piece of hardware to do this, the ACIA6551. This is a basic serial IO chip that’s meant to go along with the 6502, and was typically used for terminal displays. Thus, it’s perfect for my application. My main motivation for using this chip is that I can test with software that others have written rather than only ever being able to run my own code.
The ACIA6551 itself is quite simple. I only had to implement reading, writing, waiting, and scanning for data, as well as a handful of registers. Then, I used SDL2 to create a graphics window and made a virtual terminal that’s connected to the ACIA chip. The virtual terminal would display text sent from the program, and would let the user send keystrokes back.
Oh, I almost forgot to mention it because it’s so trivial, but I implemented RAM and ROM modules as well– really it’s just a single module that can have read-only enabled or disabled. This simply has a big array of bytes and will read or write to them from the databus. I also implemented a load routine so that machine code can be loaded into sections of memory.
Testing
All of that out of the way, I was ready to try a real program as a test! For this, I decided to go with Microchess by Peter Jennings. This is a very simple chess game that was written for the KIM-1, a 6502 based computer that also happened to use an ACIA6551. Thus it was perfect for testing my emulator. And, while there’s definitely an error with my code, it worked enough to see and interact with the program!
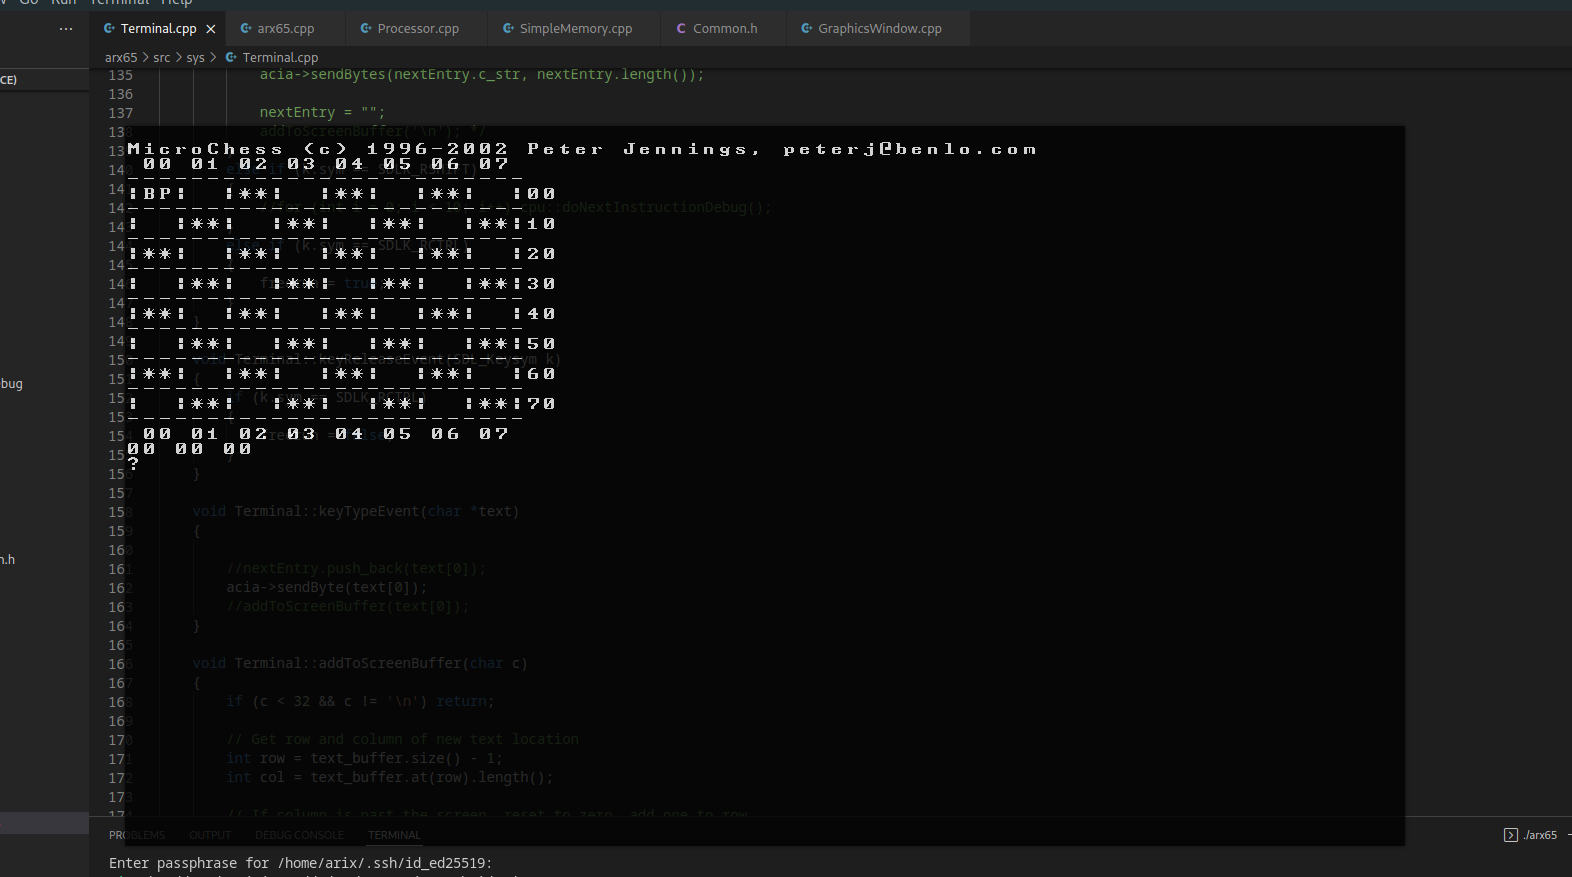
The chess game loads!!
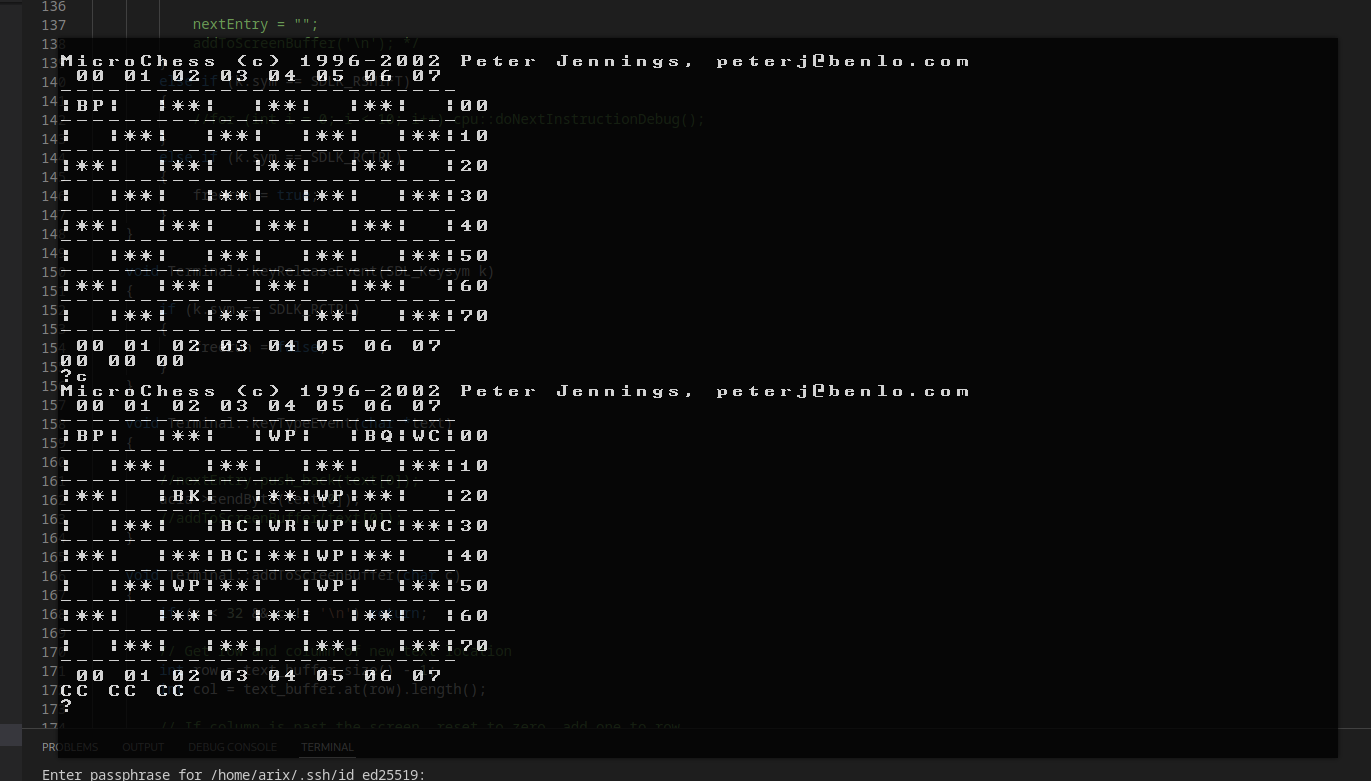
Pushing C begins the game, but the pieces are displayed in the incorrect places.
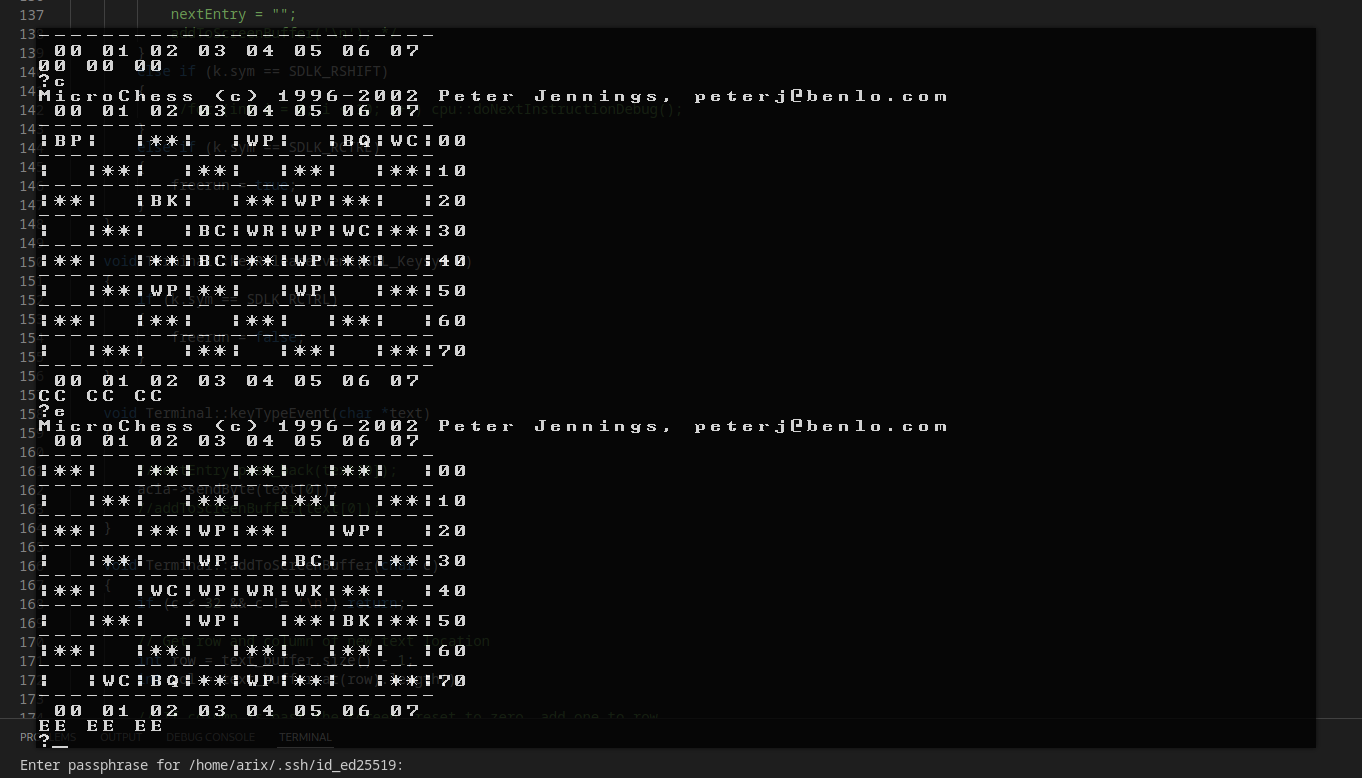
Pushing E 'flips' the board, but it's hard to tell what's actually being flipped.
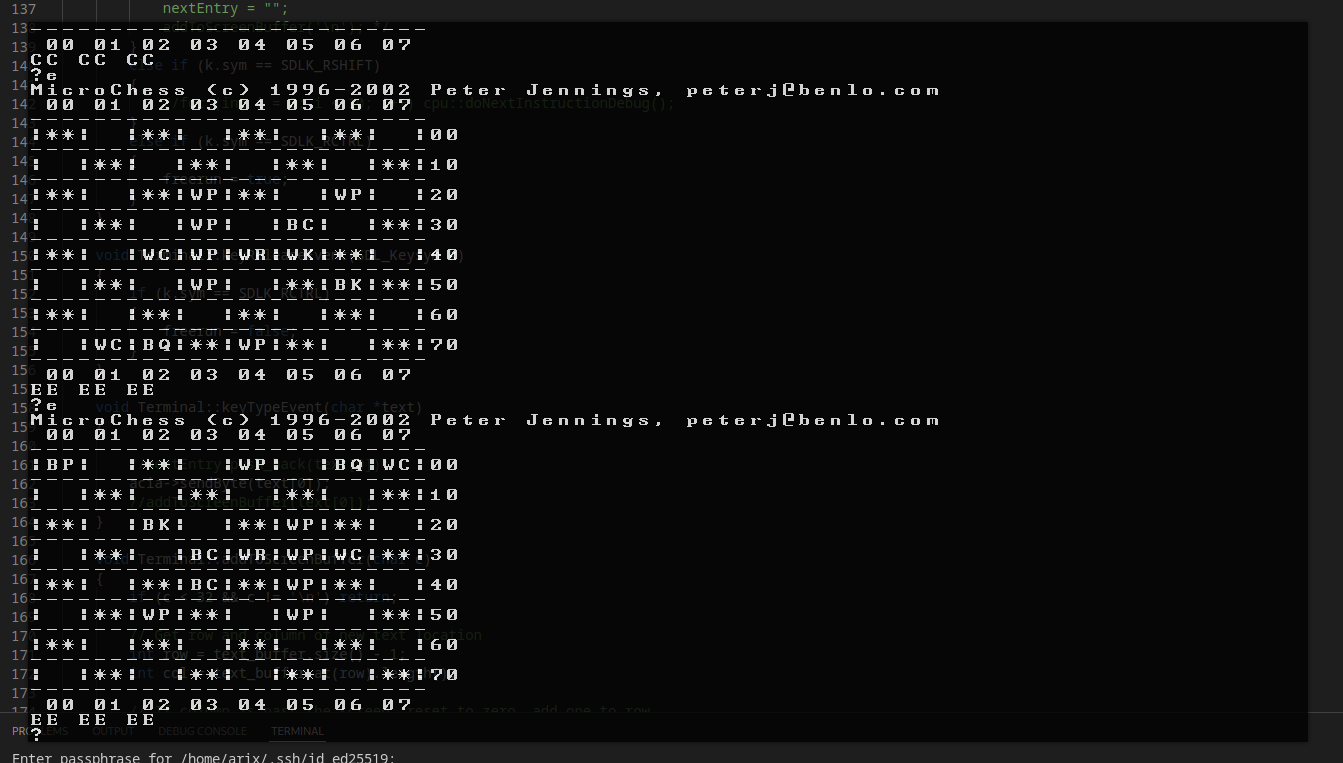
At least pushing E to flip the board again returns it to its original broken arrangement...
You can see the chessboard pattern, as well as type commands that actually modify the board. However, there’s definitely an issue somewhere, as the chess pieces are not lined up where they’re supposed to be. For whatever reason, they’re spread in odd places on the board. While this is going to take more debugging, it’s definitely very good progress and I’m happy that this much of the program is running already!
As another test, I did try benchmarking the processor using a bubble sort algorithm and repeating it several times in sequence. However, while the equivalent processor frequency was over 100 MHz (the 6502 typically runs at 2-4MHz), I actually have no idea if that’s good or bad for an emulator that doesn’t have a display attached and is just running standalone. So, I’ll implement more of the system and attempt to compare with emulators like VICE for the C64 or FCEUX for the NES.
If you want to see the source code, I’ve republished it on GitHub here.
That’s it for now, thanks for reading!